
Filling out an envelope correctly is crucial for ensuring that your mail reaches its intended destination without delays. Whether you’re sending a letter, card, or package, proper envelope addressing is a must. This guide will teach you the correct method to fill out an envelope, covering everything from the basics to tips for enhancing your chances of successful delivery.
Why Properly Filling Out an Envelope Matters
When sending mail, a correctly filled-out envelope ensures that it is delivered promptly and accurately. Incorrect or incomplete addresses can cause confusion, delays, or even loss of the item. By understanding how to fill out an envelope properly, you reduce the chances of your mail being returned, delayed, or misdirected.
Properly addressing an envelope also helps maintain a professional appearance, especially in business communications. Whether it’s for personal or professional purposes, your attention to detail can make a significant difference.
Types of Envelopes
Before we dive into the details of filling out an envelope, it’s important to know that envelopes come in various shapes and sizes. Understanding which envelope to use can be just as important as how you address it.
Standard Letter Envelopes: These are the most common envelopes used for mailing documents, cards, or letters.
Padded Envelopes: Often used for sending fragile items, padded envelopes provide extra protection.
Window Envelopes: These have a clear plastic window that displays the recipient’s address, often used for business mail.
Large Envelopes: Perfect for oversized documents or when you need to send something that doesn’t fit into a standard letter envelope.
Once you’ve chosen the right type of envelope for your purpose, it’s time to address it properly.
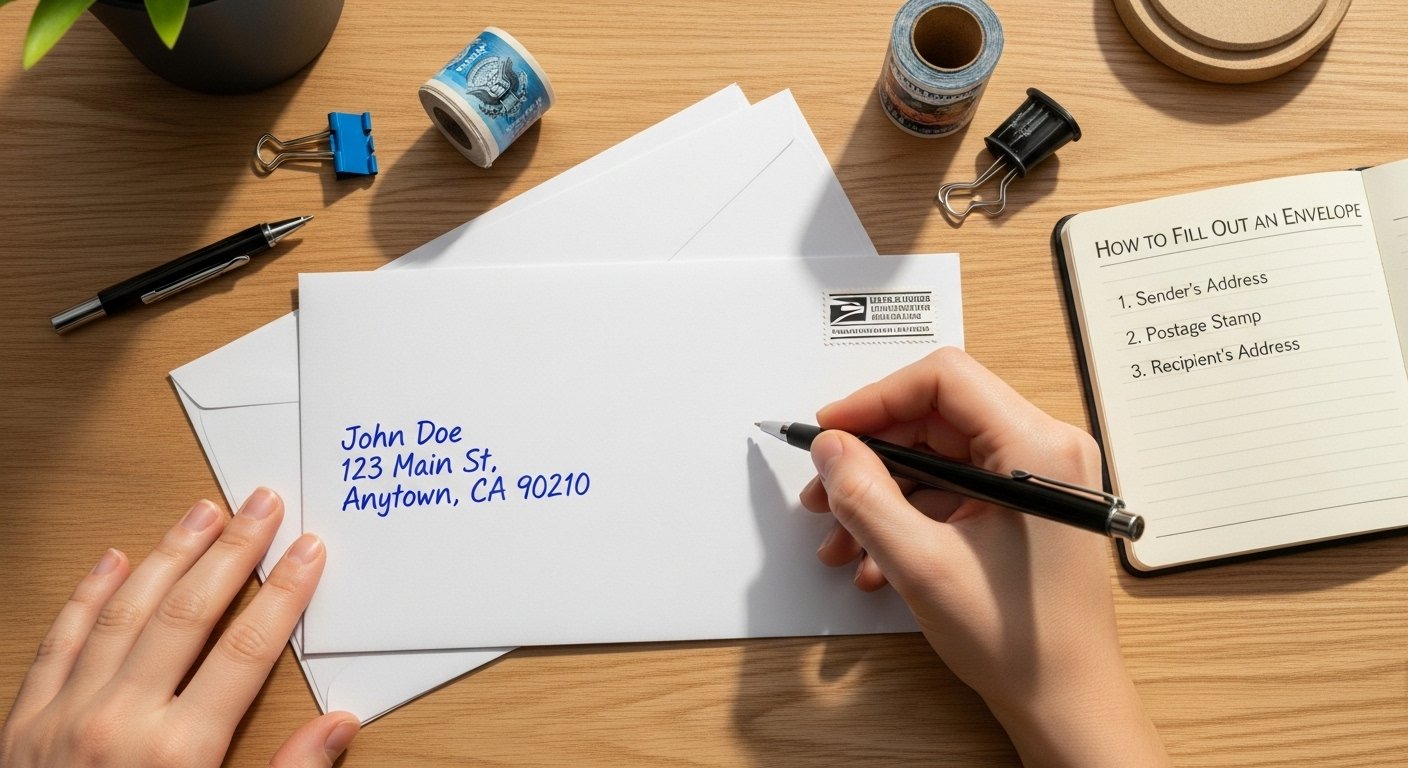
How to Fill Out an Envelope
1. Write the Recipient’s Address
How to Fill Out an Envelope? The recipient’s address goes on the front of the envelope and should be placed in the center. Proper placement ensures that the envelope is processed smoothly during delivery. Here’s how to do it step-by-step:
a. The Recipient’s Name
Start with the recipient’s full name, including any titles (e.g., Dr., Mr., Mrs.).
If it’s a business letter, include the company’s name on the next line.
Example:
John Doe
XYZ Corporation
b. The Street Address
Write the recipient’s street address on the second line.
Include the building number, street name, and apartment or unit number if applicable.
Example:
1234 Maple St., Apt 12B
c. The City, State, and ZIP Code
On the next line, write the city, followed by the state or province abbreviation.
After the state abbreviation, include the recipient’s ZIP or postal code.
Ensure the ZIP code is written in the correct format (e.g., 12345 or 12345-6789).
Example:
Los Angeles, CA 90001
d. The Country (For International Mail)
If you’re sending mail internationally, you need to include the destination country on the last line.
Make sure the country is written in uppercase letters.
Example:
Canada
2. Write Your Return Address
Your return address is the sender’s address, which helps the postal service return your mail if it’s undeliverable. It’s written in the top left corner or on the back flap of the envelope.
a. The Sender’s Name
Write your full name at the top of the address block.
Example:
Jane Smith
b. The Street Address
Write your street address on the next line.
Example:
5678 Oak Ave., Suite 101
c. The City, State, and ZIP Code
Below the street address, write your city, state, and ZIP code.
Example:
Seattle, WA 98101
d. The Country (For International Mail)
If you are mailing internationally, include the sender’s country on the last line in uppercase letters.
Example:
United States
3. Postage Placement
Proper placement of the postage stamp is essential for the mail to be processed correctly. It should be affixed in the top right corner of the envelope.
For Domestic Mail: Place the stamp in the top-right corner of the envelope.
For International Mail: Ensure the postage is the correct amount for international delivery. Place it in the top-right corner as well.
4. Additional Considerations
Return Address on the Back: If you place your return address on the back flap of the envelope, make sure it’s centered and not too close to the edge.
Extra Address Lines: If you are sending a letter to a specific department or unit (in a business or government setting), include that information under the recipient’s name to ensure proper delivery.
Punctuation: Use appropriate punctuation (e.g., commas, periods) when writing the address. Avoid extra punctuation that could confuse the postal workers.
Legibility: Use clear, legible handwriting or printed text. Many postal services use automated machines to read addresses, so avoid cursive or fancy fonts.
5. Special Mailing Instructions (Optional)
If the envelope contains special instructions or requires special handling (e.g., “Fragile,” “Confidential”), consider writing a brief note on the envelope or using a sticker to indicate the need for extra care. These indicators help postal services handle your mail appropriately.
Tips for Avoiding Common Envelope Addressing Mistakes
1. Double-Check the Address
Always verify the recipient’s address before sealing the envelope. A single incorrect letter or number can cause delays or misdelivery.
2. Use a Clear Font or Legible Handwriting
If you’re printing the address, use a standard font (e.g., Arial) and a size that is easy to read. For handwritten addresses, ensure your writing is legible and clear.
3. Avoid Overcrowding the Envelope
Keep the address section clear of other marks or labels. Overcrowding can confuse postal machines and delay delivery.
4. Use the Correct Postage
Ensure that the postage covers the correct mailing rate based on the size, weight, and destination of the envelope. If unsure, visit your local post office or check online postage calculators.
5. Position Everything Correctly
Align the recipient’s address in the center of the envelope, while the return address should be in the top left corner. This standard placement helps ensure proper processing.
How to Fill Out an Envelope for Different Purposes
1. Business Envelopes
Business envelopes typically use a more formal format, particularly when you’re sending important documents. You’ll want to use professional language and ensure everything is properly formatted.
2. Wedding Invitations
For wedding invitations, a more elegant approach is often taken. Be sure to use the couple’s full names, along with the appropriate titles, and include RSVP instructions or response cards if necessary.
3. Thank-You Notes
For personal thank-you notes, the format is typically more informal. However, make sure the envelope is addressed legibly and neatly to convey appreciation and professionalism.
4. Mailing Packages
When sending packages, ensure that the address is clearly visible and that the package is properly sealed. Always include a return address, as packages are more likely to get lost in transit.
Conclusion
Filling out an envelope may seem like a simple task, but getting the details right can make all the difference in ensuring that your mail reaches its destination quickly and efficiently. By following the guidelines provided in this article, you’ll be able to address your envelopes like a pro and reduce the chances of delays or issues with delivery.
Remember, always double-check your addresses, use the correct postage, and ensure that your envelope is clearly labeled. Whether you’re sending personal letters, business correspondence, or packages, the small effort you put into filling out your envelope correctly can save you time and hassle down the road.